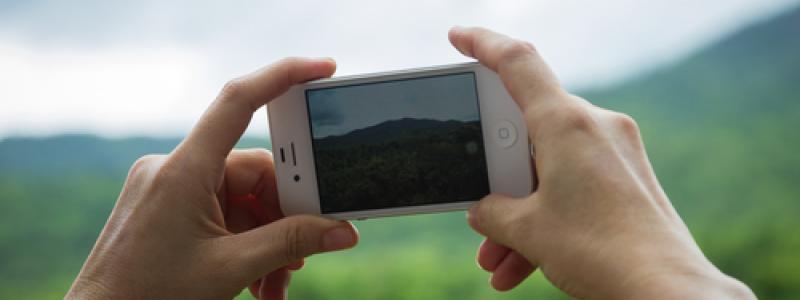
Tips For Taking Better Pictures This Holiday Season Using Your iPhone

Yes, we are well into the holiday season. There is plenty of cheers, gifts, food, drinks, and of course, taking pictures of your loved ones and the holiday sights. If you own an iPhone, you probably know that your device is generally considered one of the better smartphones out there that consumers can use for capturing images. If you would like to take better pictures this season using your iPhone, you can try checking out the following tips, accessories, and iOS app suggestions.
Taking Photos Of Groups Of People
You want to take a picture of your whole family and want to make sure no one is left out? Use a tripod. Tripods come in all sorts and sizes, but what you really want to get is one that goes well with your iPhone.
For years, the iStabilizer has been a reliable accessory for taking photos using your iPhone. What's great about it is that you can also use it for other smartphone brands. Setting up the iStabilizer is fairly easy -- you just need to make sure that your iPhone is safely gripped.
Once your iPhone is securely mounted on the tripod, it would be a good idea to use the timer within the iOS 8 Camera app. The seconds will be counted down via the flash and your iPhone's camera will take a burst of ten images. Using the burst mode is a good way to make sure you get plenty of options for posed shots.
You can also use a Bluetooth remote to control your iPhone when taking group shots. The Satechi BT Media Remote is a good example of this. One advantage of using Bluetooth technology is that you do not have to be within the line of sight to be able to control your iPhone's camera.
Capturing Images In Low Light Conditions
It is always a challenge taking a picture when there is a limited source of light. But with iOS 8, you get to control your camera's exposure level manually, maximizing whatever limited light is present in the surroundings. To do this, simple tap on the subject of your photo to make the small sun icon appear, and then slide the sun up and down to adjust the exposure.
If you want more control, you might want to check out the Camera+ app, which lets you manually adjust shutter speed, ISO,focus, and even white balance. Always remember that a slow shutter speed will allow more light, but it will also cause blurring when taking subjects in motion. Also, a higher ISO is good for low light conditions, but it sometimes make the photo more grainy. It is always suggested to take test shots in order to get the desired results.
Backgrounds, Frames, And Text
Okay, you got the picture you wanted. Now you can have some bit of fun by adding funky backgrounds, cool frame designs, or appropriate text.
For backgrounds, you can try the Juxtaposer app. It selects two images for the background and the foreground. You then erase sections of the foreground to reveal the background image. You can zoom in and out of the photo if you want. Juxtaposer actually works similarly as the Color Splash app.
If you want to turn your photos into comic book layouts, try using Halftone 2. You can add captions and speech bubbles, and present your photos in a certain sequence to tell a story (true or otherwise).
Are you into collages? Then the Pic Collage app can help you. Just tap the + button to explore various options for themes. You can choose from different background designs and even incorporate stickers to your collage. When you are done making the collage, send it as a digital Christmas card to family and friends.
If you like to incorporate nice fonts, then you should check out the Over app. You can adjust font sizes, colors, and the placing of the text. If you want additional fonts, you can also buy additional font packs.
Related Blog Articles
- Snapchat’s Growth Relatively Unaffected By Hacking Incident Early This Year
- A Beginner’s Guide To Owning An iOS Device
- How We Interact With Our Smartphones Is Changing How Our Brains Work
- SwipeRadio: Accessing Your Favorite Radio Stations With Just A Swipe
- New York City Considering Accepting Apple Pay For Parking Tickets
- Microsoft Looking To Update Office Apps For Windows Phone
- ZTE Announces The Budget-Friendly Grand X Max+ Phablet
- iOS Used Dominantly In The Corporate World, Per Survey By Piper Jaffray
- New, Bigger iPhones Stymie Android’s Dominance
- Dish Unveils Sling Service


 Menu
Menu